These cupcakes take some time to put together, but they are Well Worth the effort! The more you have set up to go, the easier it is to have fun with your kids while baking.
Step 1:
Get all your ingredients and cookware together Step 2:
Pre-measure your liquids for easy pouring by your child. I have my girls crack the eggs for me too. A girlfriend of mine has boy twins who is far more brave then I ever planned on being...she had me showing the girls how to crack eggs at 18months. Always have a wet rag nearby to clean up raw eggs on your childs hands or take them directly to the sink for washing. Step 3:
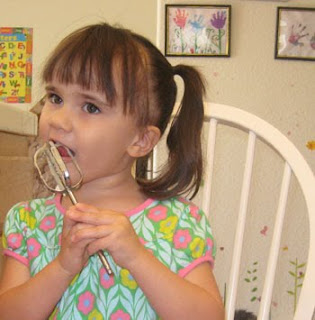
Although not healthy, I do let my girls lick the beaters. You can squash any fears of salmonella by just using egg whites if you so choose. Step 4:
Die your cake mix. Although I used White Cake mix, the batter is more of an off white. This does effect how you create vibrant colors. I followed the directions on the box of food coloring and it worked great. I was fearful the cupcakes would have that food dye flavor, but they didn't! Step 5:
Line your muffin tins with the paper inserts. I decided against it for this batch and I didn't get the rainbow effect on the outside of the cupcake. With the paper inserts you can see the color layers, even the paper you peel off looks cool!
Step 6:
Begin layering your colors in reverse: purple, blue, green, yellow, orange, red. Keeping in mind you'll have 6 layers, try to keep them as thin as possible. I used a plastic spoon to help spread it out.
Step 7:
Cook as directed on the box. Let fully cool.
Step 8:
Using white cake frosting in separate bowls create as many colors as you'd like to offer your child to decorate with. Or you can use all white to signify a fluffy cloud.

Of course colors is what this is all about so I offered the twins 5 colors!

I cut one in half to show the effect.

For the left over batter I mixed them in the muffin tins to see if I could get a tie dye effect, I think they turned out great!
 This is a time consuming baking craft, but I think it was well worth it and we had fun the entire time. Plus if you get bored layering it all, just mix them together and have tie dye cupcakes instead!


No comments:
Post a Comment
Thank you for taking the time to comment!